Here’s a refined version of your content with improved flow and readability:
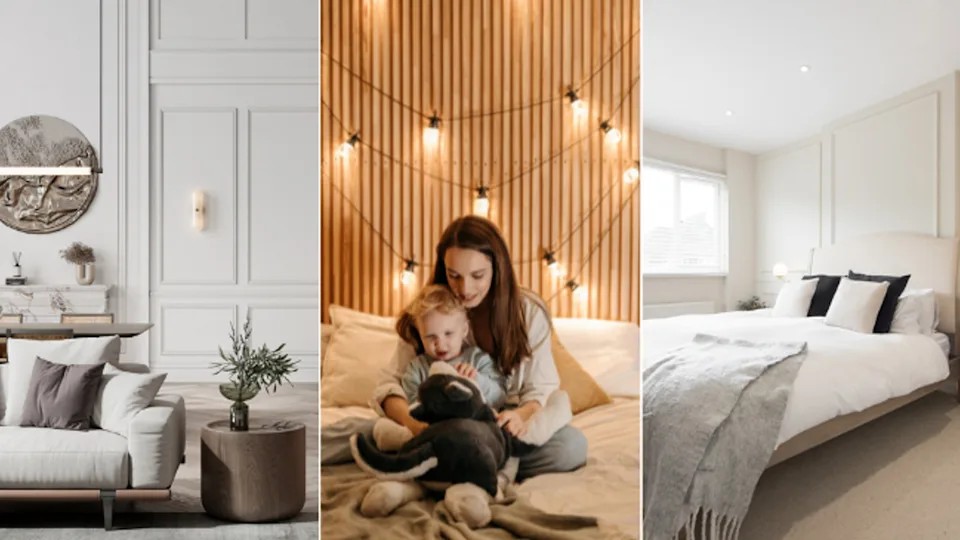
Top Panelling Trends
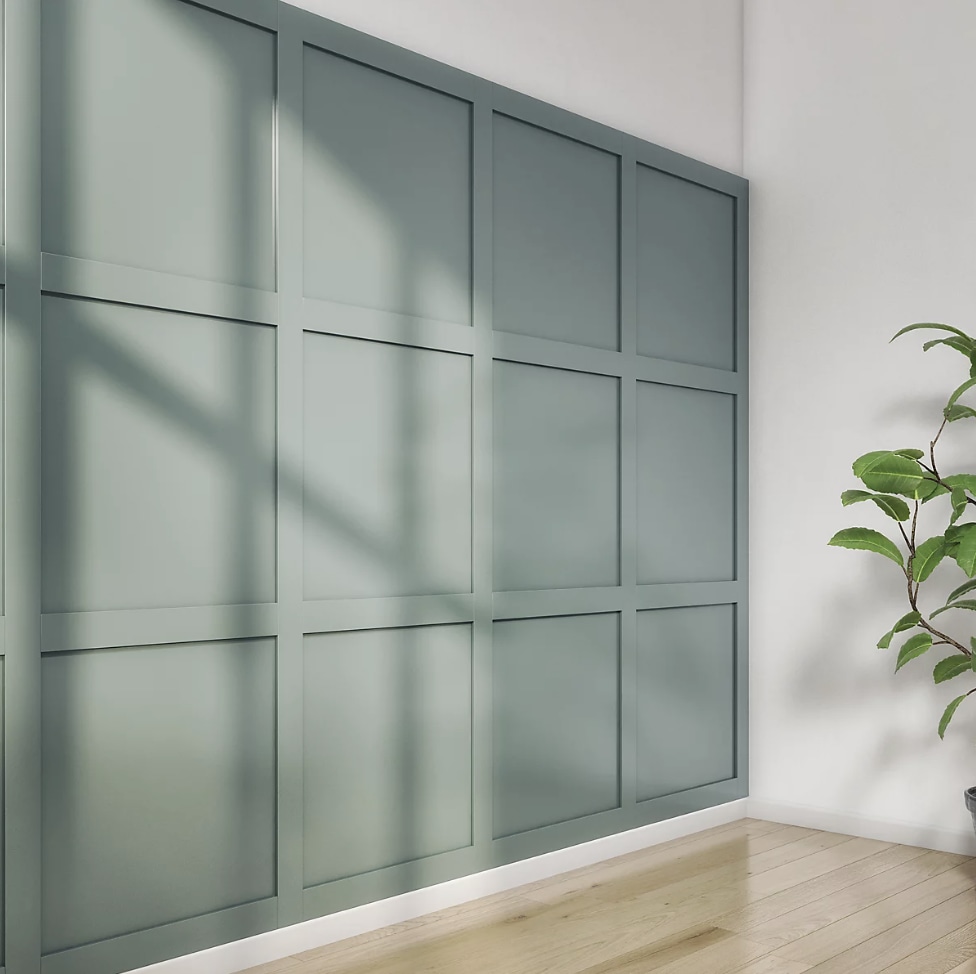
Shaker
Interest in DIY panelling has surged, with B&Q reporting a massive 3,552% year-on-year increase in searches for ‘DIY panelling kit’ and a 1,300% rise for ‘Shaker panelling kit.’ Also known as board and batten, Shaker-style panelling is one of the most popular choices for DIY enthusiasts. Its clean, square design adds depth and character to a space, making it a great choice for creating a warm and inviting atmosphere. This style is often used in bedrooms, particularly as a statement feature wall behind a headboard.
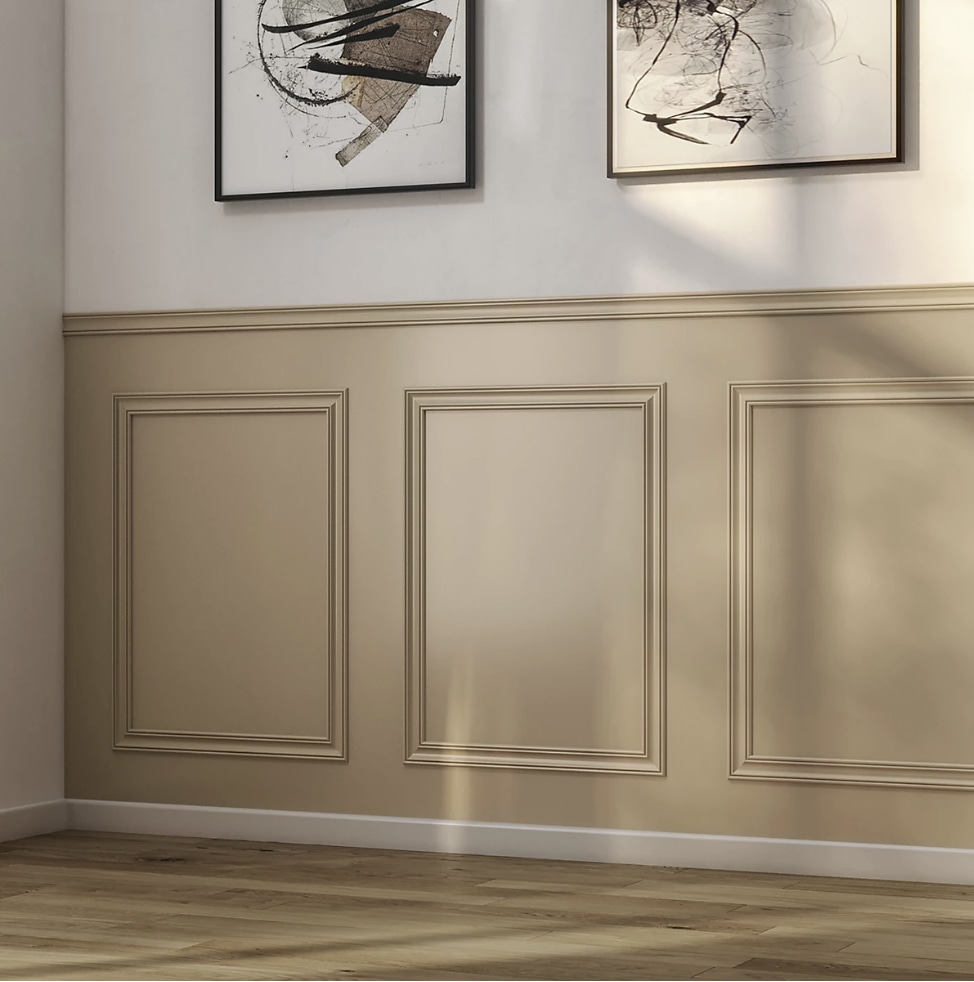
Victorian
Victorian panelling is a timeless classic that embodies traditional home interiors with its elegant, picture-frame-like panels. While there are various styles to choose from, floor-to-ceiling panelling creates an especially grand and sophisticated aesthetic, perfect for adding a touch of historic charm to any room.
Shiplap
Originally designed to waterproof boats, shiplap panelling features interlocking grooves for a snug, weather-resistant fit. Today, it’s widely used in home interiors, particularly in bathrooms, where its nautical-inspired look complements coastal and rustic designs. Shiplap is commonly installed on the lower half of walls, allowing for a contrasting pop of colour or wallpaper on the upper portion.

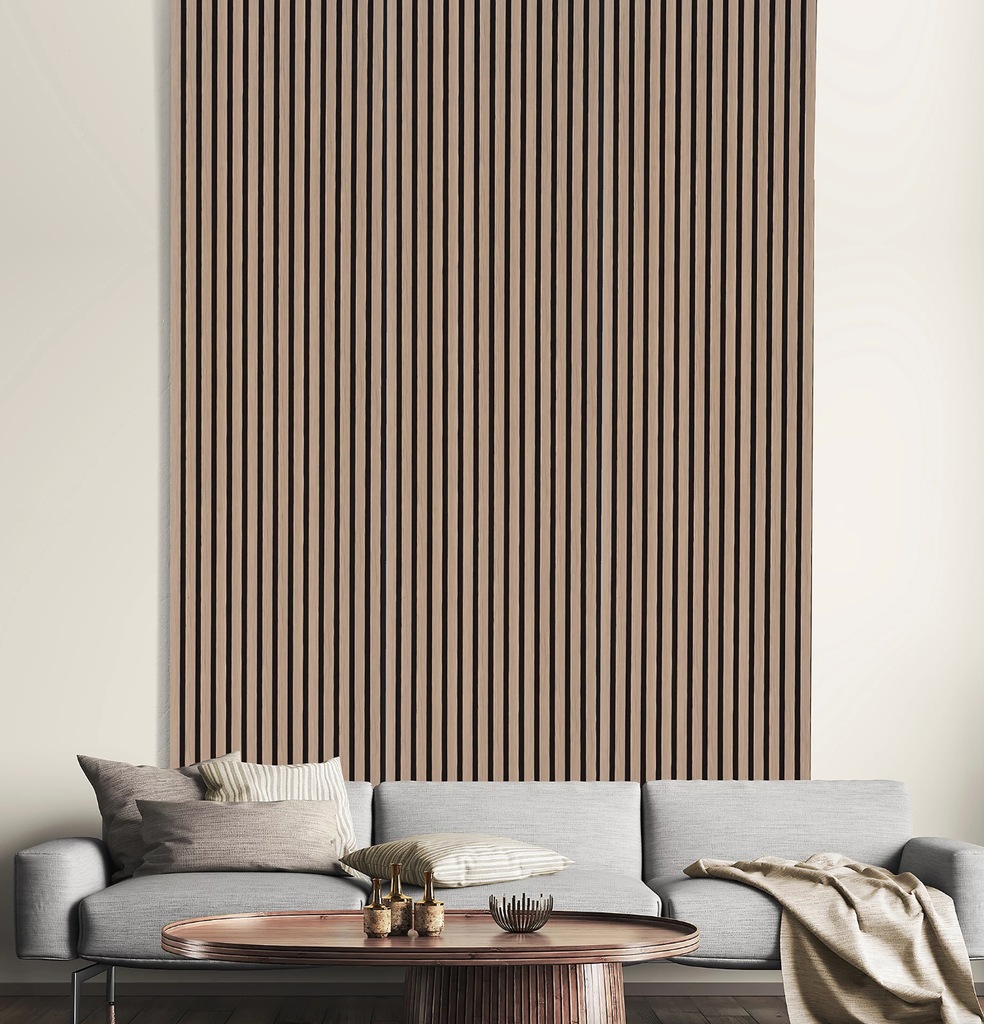
Slatted
For a sleek, contemporary look, slatted (or strip) wall panels are an excellent choice. Not only do they add warmth and texture to a space, but they are also budget-friendly and easy to install. Whether used as a full feature wall or in smaller sections to enhance empty corners, slatted panels bring a modern yet natural touch to any interior.
How-to Guide
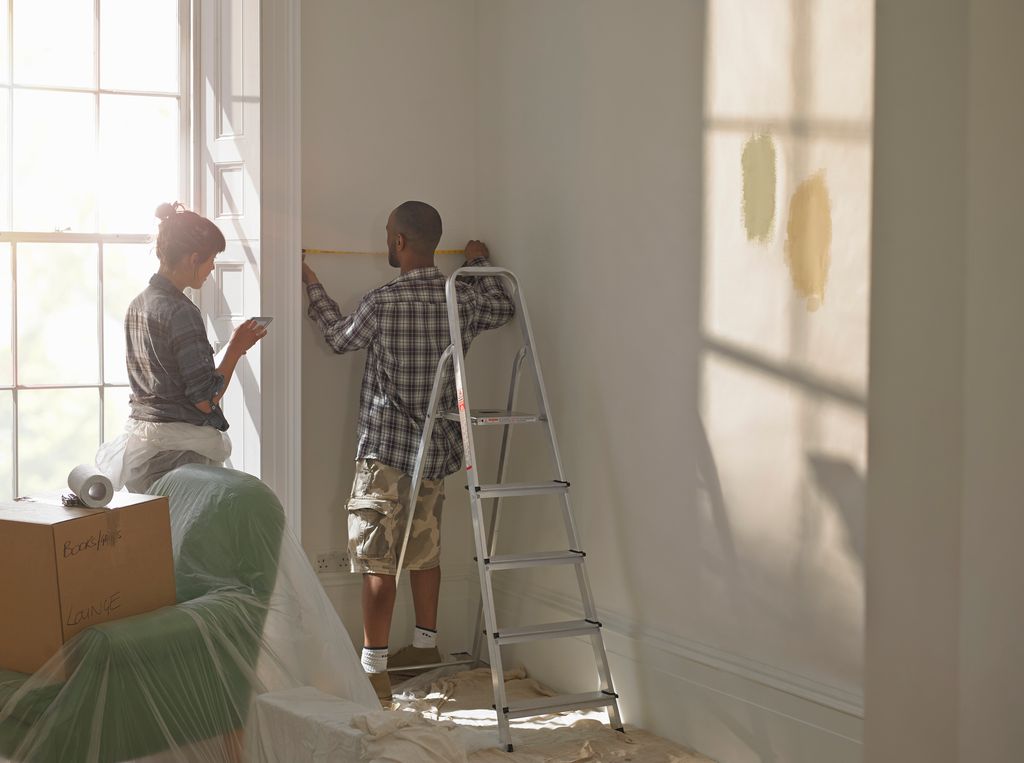
1. Measure Your Walls
Start by measuring your wall and marking out any switches or sockets. Hold up the panels to determine how much you’ll need, working from the center outward for a symmetrical look. Use a pencil and a spirit level to mark precise reference points.
2. Cut and Paint Your Panels
Use a handsaw to cut MDF panels to size according to your measurements. For straighter, more accurate cuts, a mitre box can be helpful. Always wear protective gear when cutting MDF. If painting your panels, apply a primer first to prevent moisture absorption and ensure a smooth finish.
3. Prepare Your Walls
Before installing, sand the wall surface to create a smooth and level base. For a seamless look, consider painting the wall behind the panelling in a matching colour.
4. Apply Panels to the Wall
First, place each panel against the wall without adhesive to check the fit. Once satisfied, apply grab adhesive to the back and press the panel firmly into position, holding it in place as recommended. Start with vertical panels before adding horizontal ones.
5. Fill Gaps and Finish
Use decorator’s caulk to fill any small gaps or joints for a polished look. If desired, paint your panels in your chosen colour, ensuring a primer has been applied to the MDF beforehand for an even finish.
By following these steps, you can achieve a stylish, professional-looking panelling effect that transforms your space with depth and character.